Hydraulics + computers = robots.
Robots have taken over dangerous, repetitive and heavy work. Many factories are now equipped with robots that are precise, fast and extremely safe. Although precision can be programmed using software, it is engineers who must design and build the sturdy frames that move in three dimensional space to the instructions of computer programs using hydraulics.
We will see how engineers think and work by building our very own cardboard hydraulic device.
Let's start to build Hydraulicus.
Before we start you may wish to refresh yourself with the parts of Hydraulicus. Click here

Building the arm
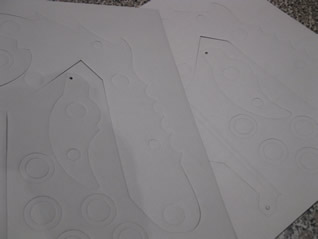
Step 1 Obtain the two arm stencils as shown on the right.
Step 2 Press out the large rings the arms and the jaws that will form the neck and jaw of the hydraulic device.
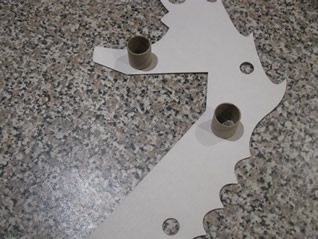
Step 3 Put one of the arms down on a flat bench and place the two spacer tubes in the positions shown on the right in the holes of the arm.
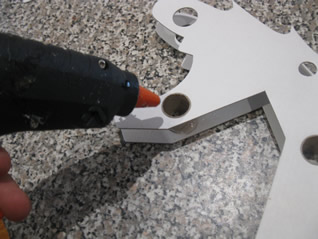
Step 4 Glue the spacer tubes to the arm.
Step 5 Position the second arm over the first so that the holes of the second arm line up with the spacer tubes which are now glued to the first arm flat on the bench. Press gently down so that the spacer tubes come through the holes of the second arm.
Step 6 Glue a large ring on each side where the spacer tubes come through the holes of each side of the arm. The ring should just fit around the perimeter of the spacer tube.
Click to see how the arm should look like so far.